Mac Mail - Mavericks 10.9 - Default Port - Setup Guide
Are you using the latest version of Apple's Mac OSX?
Please see our Mojave 10.14 Mac Mail SMTP server setup guide here.
Important Points
- First you need to make sure the email address(es) you will be sending from have been authorised for your account in our Control Panel .
- These instructions assume your email account has already been setup and is collecting email correctly.
- Take a note of any settings you change.
- Only change the items specified - you should not need to change either your email address, POP3 server, POP3 username / password.
- These instructions are only for Mac Mail on Mavericks 10.9 - for other email programs please see How To Setup AuthSMTP or contact us.
- We have instructions for both default SMTP port and alternate SMTP port configurations - alternate port is generally used if your ISP blocks the normal port 25 SMTP access (as many do these days!).
Step 1
- Open Mac Mail on Mavericks by clicking the Icon
Step 2
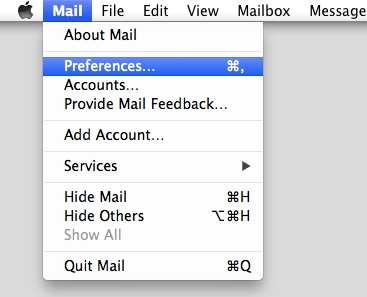
- Go to the Mac 'Mail' menu and click 'Preferences'
Step 3
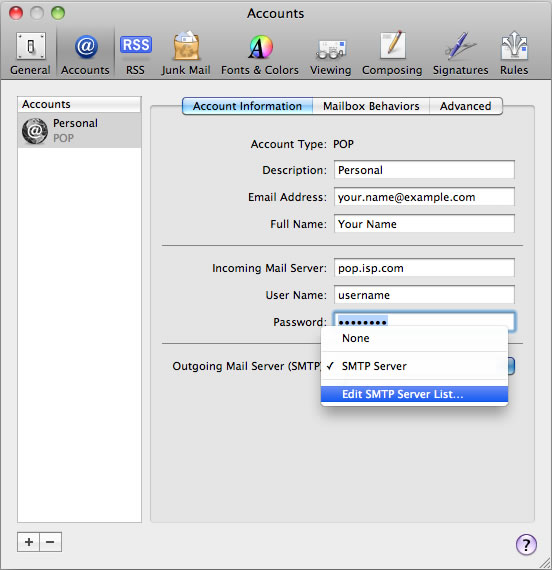
- Click on the Mac Mail account you wish to edit, you may have multiple accounts so if you do you will need to edit each one separately
- Click on the 'Outgoing Mail Server' drop down menu and select 'Edit SMTP Server List...'
Step 4
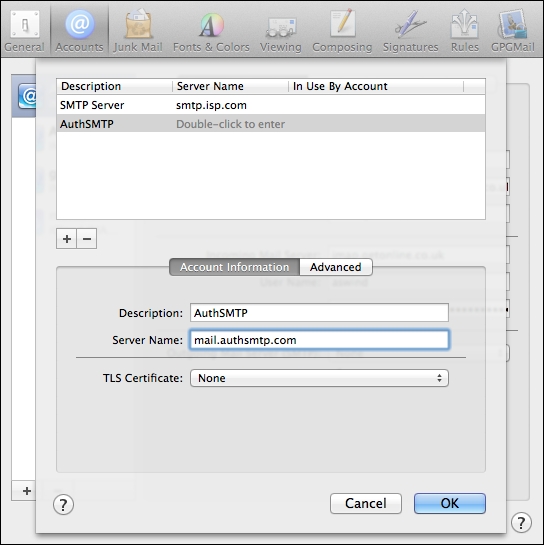
- Click on the plus (+) button to add another SMTP server
- For the description enter 'AuthSMTP'
- For the Server Name enter 'mail.authsmtp.com'
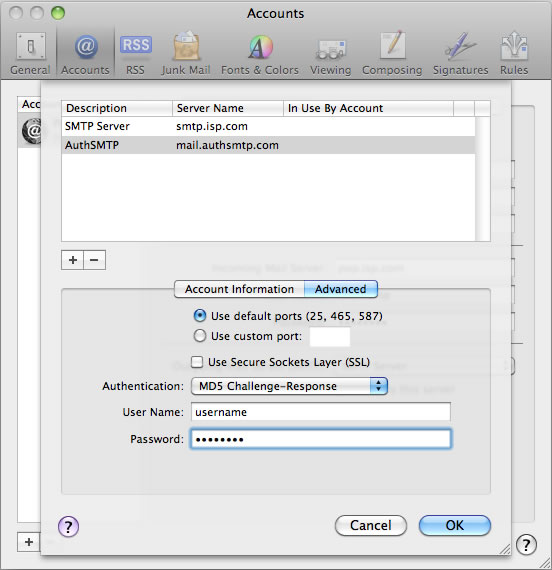
Step 5
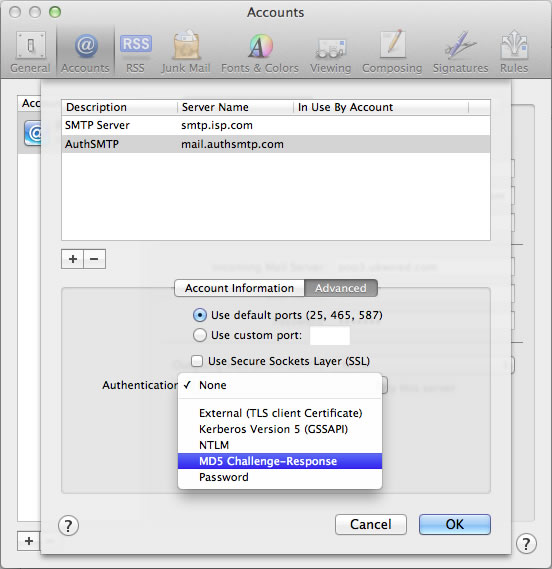
- Go to the 'Advanced' tab
- Click on 'Authentication' and select 'MD5 Challenge-Response'
Step 6
- Enter the AuthSMTP Username and Password that has been emailed to you
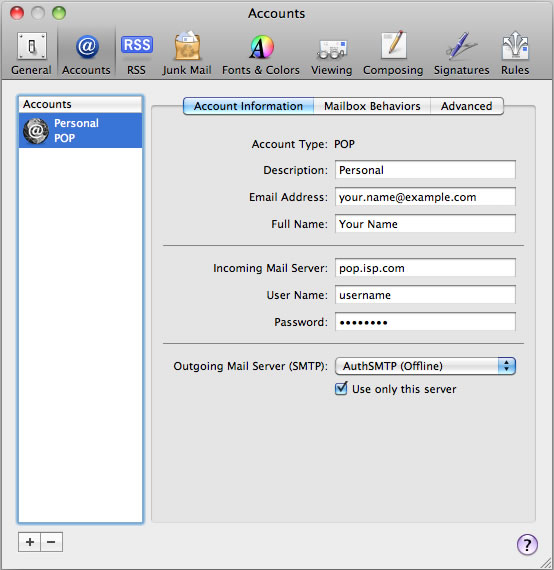
Step 7
- You have now setup the AuthSMTP outgoing mail server
- Please ensure that 'AuthSMTP' is selected in the drop-down menu next to'Outgoing Mail Server'
- Close the window
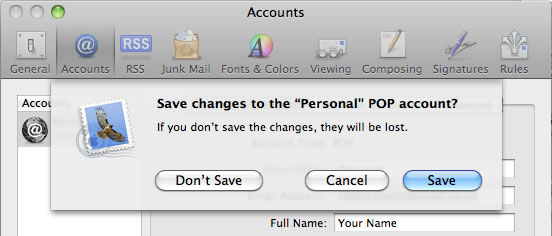
Step 8
- When prompted click 'Save' to keep the changes
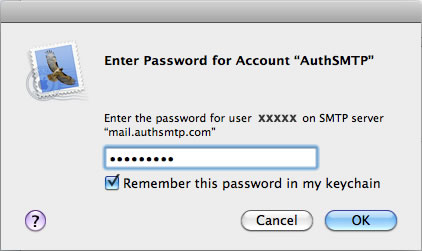
Step 9
- When you first click 'Get Mail' or go to send an email you may need to re-enter your AuthSMTP password
Step 10
- If you would like to use your AuthSMTP service with multiple accounts you just need to click on the account you wish to edit, click on the 'Outgoing Mail Server' drop down menu and then select 'AuthSMTP' from the list of servers.
- All Done!