Apple iPad - Pre iOS 7 - Default Port - Setup Guide
Are you using a new iPad or the latest version of iOS? Please see our iOS15 SMTP server setup guide here.
Important Points
- First you need to make sure the email address(es) you will be sending from have been authorised for your account in our Control Panel .
- These instructions assume your email server / account has already been setup and is collecting email correctly.
- Take a note of any settings you change.
- Only change the items specified - you should not need to change your incoming email settings.
- These instructions are only for Apple iPad - for other email programs please see How To Setup AuthSMTP or contact us.
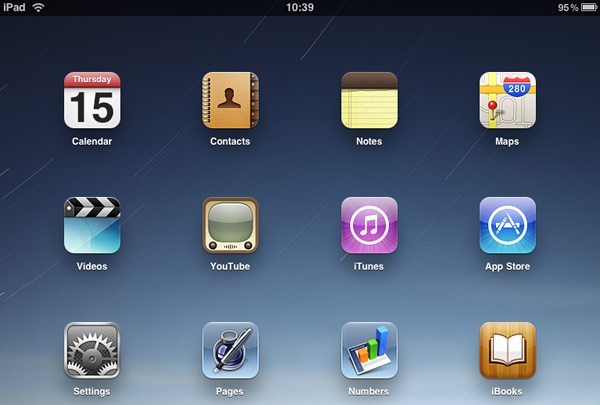
Step 1
- From the 'Home Page' of your iPad select 'Settings'
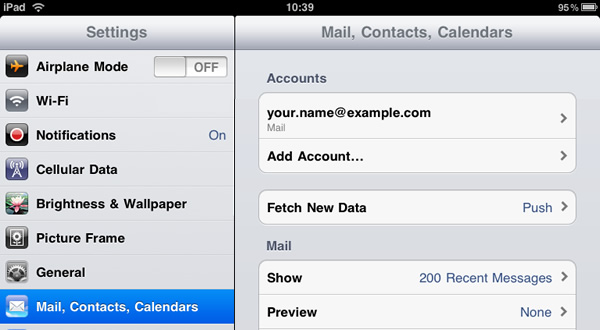
Step 2
- Click 'Mail, Contacts, Calendars'
- Select the email account you wish to modify
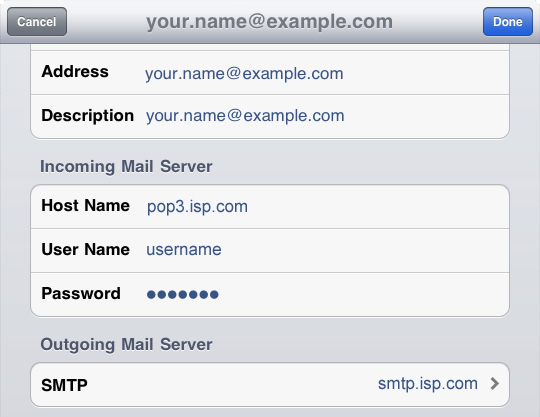
Step 3
- Scroll down to 'Outgoing Mail Server' and click on 'SMTP'.
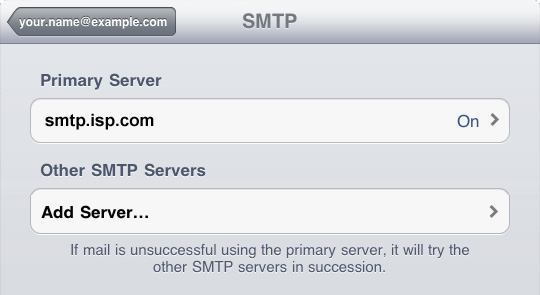
Step 4
- Click 'Add Server...'.
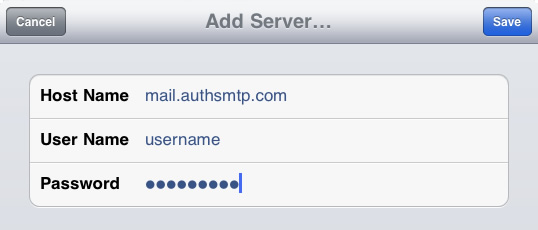
Step 5
- Enter 'mail.authsmtp.com' as the 'Hostname'
- Enter your AuthSMTP username and password
- Click 'Save'
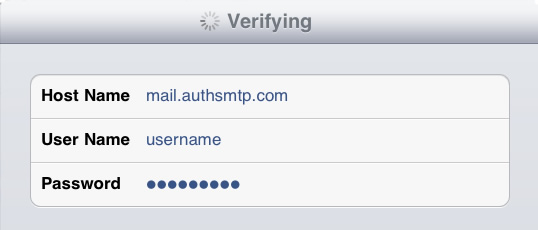
Step 6
- The iPad will now verify the details you have entered, this can take up to a minute to complete
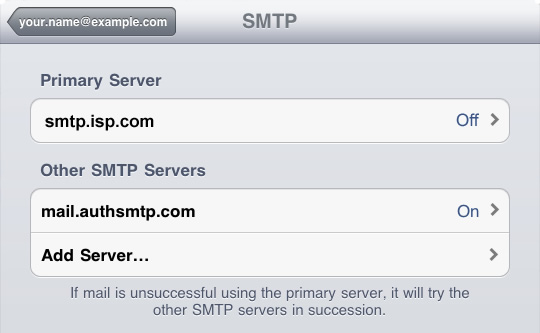
Step 7
- If you have entered the correct details the SMTP server should now have been added to your list of 'Other SMTP Servers'

- First you need to disable your old SMTP server - Click on the server under 'Primary Server'
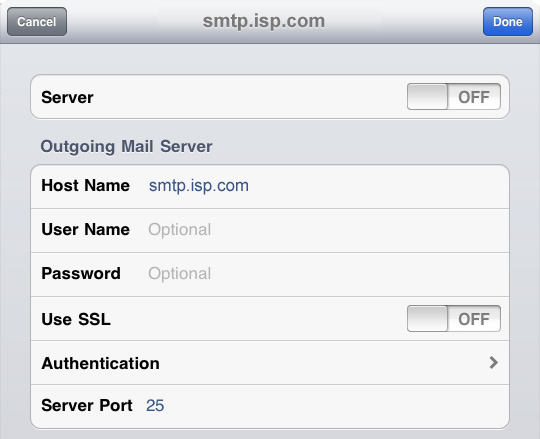
Step 8
- For your old SMTP server move the slider to 'OFF' and then click 'Done'
Step 9
- You will now see that the 'Primary Server' is turned off
- You now need to make some minor adjustments to your new AuthSMTP account so under 'Other SMTP Servers' click on 'mail.authsmtp.com'
Step 10
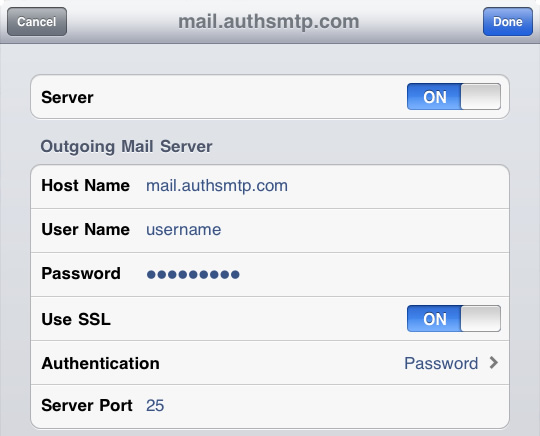
- Ensure the slider is moved to 'ON'

Step 11
- Change the 'Server Port' from '587' to '25'
Step 12
- Move the 'Use SSL' slider to 'OFF'
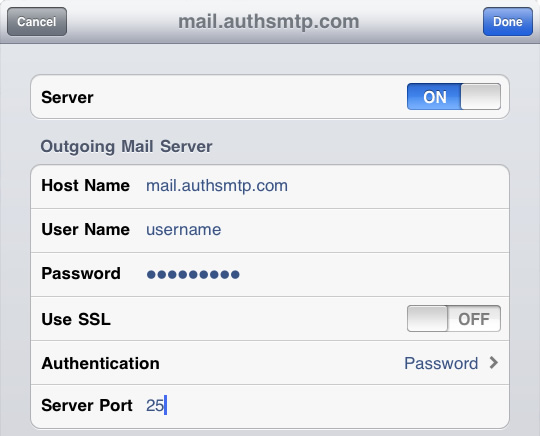
- If you do need or wish to use SSL you will first need to login to the Control Panel and enable SSL support
- Click 'Done'
Step 13
- The configuration is now complete - if you have multiple email accounts setup on your iPad you may also wish to change the settings for each of those so that they use this SMTP Server
- You can do that by going into the settings for each account, turn off the 'Primary Server' and then enable the 'Other Server' you have created using your AuthSMTP account details
- All Done!