Android 2.x - Default Port - Setup Guide
Are you using the latest version of Android?
Please see our Android 5.x (Lollipop) SMTP server setup guide here.
Important Points
- These instructions are based on the standard Android 2.x mobile device operating system, you may find that the process / buttons to access the menus varies slightly depending on the mobile /cell phone manufacturer.
- First you need to make sure the email address(es) you will be sending from have been authorised for your account in our Control Panel .
- They assume your mobile device / email account has already been setup and is collecting email correctly
- Take a note of any settings you change.
- Only change the items specified - you should not need to change your incoming email settings.
- These instructions are only for Android 2.x - for other email programs please see How To Setup AuthSMTP or contact us.
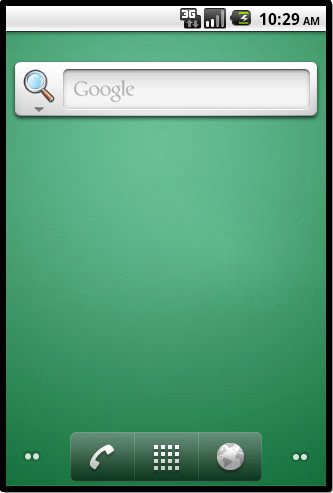
Step 1
- From the 'Home Page' of your device or phone click on the button to access the phones main menu
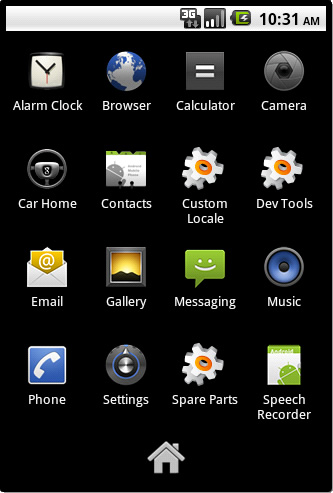
Step 2
- Click 'Email'
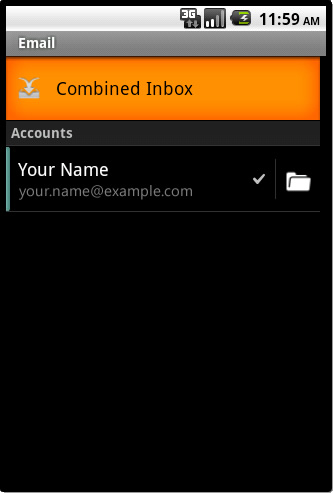
Step 3
- Go into the account you wish to setup with AuthSMTP
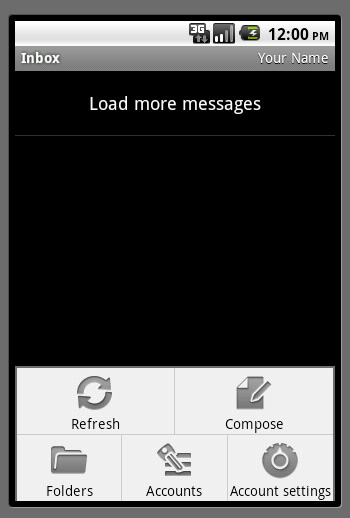
Step 4
- Click your 'Menu' button to bring up the options menu
Step 5
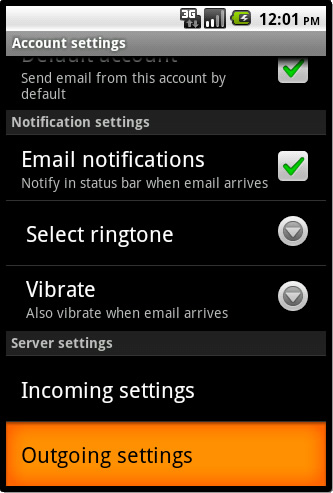
- Click on 'Account Settings'
- Scroll down and click on 'Outgoing Settings'
Step 6
- You will now see your current SMTP settings, make a note of these before making any changes
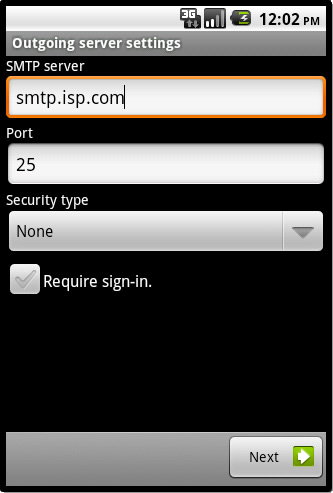
Step 7
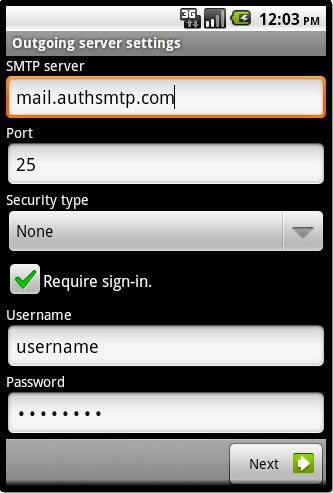
- For 'SMTP Server' enter the SMTP server we have sent to you in the confirmation email, this would normally be 'mail.authsmtp.com'
- For 'Port' enter '25'
- For 'Security type' change it to 'None'
- Tick 'Require sign-in'
- For 'Username' and 'Password' enter your AuthSMTP username and password - these are case sensitive
- Click 'Next'
- Your device will now verify the settings and return you to the 'Account Settings' window
Step 8
- The configuration is now complete - if you have multiple email accounts setup on your Android mobile /cell phone / device you may also wish to change the settings for each of those so that they use this SMTP Server, you can simply repeat the process on those accounts.
- All Done!
Troubleshooting
- Check you have entered the AuthSMTP username and correctly
- Check you have registered the from address on your AuthSMTP account, you can do this via the Control Panel
- Check the Control Panel to see if any errors are being logged against your account